blRstr: Installation and quick start
Click on any image to open in full resolution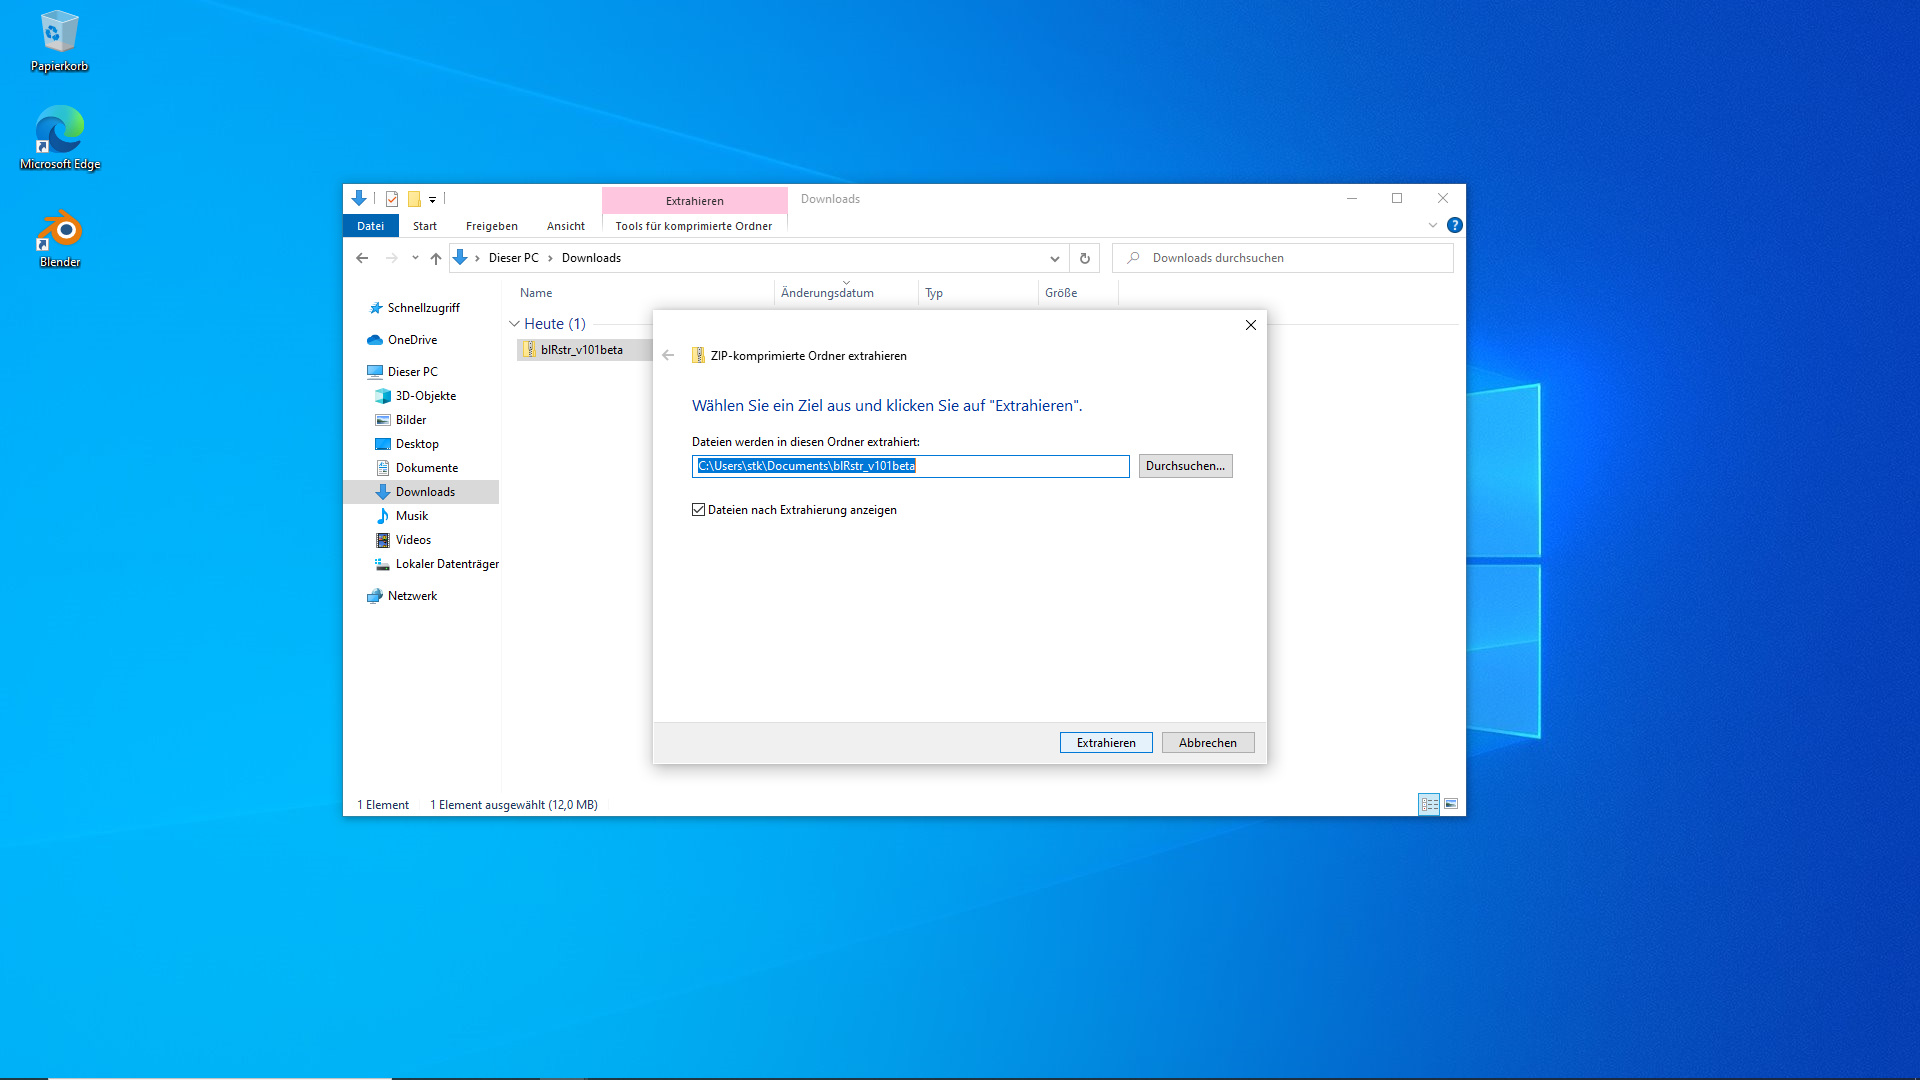
Unzip the archive anywhere. Here: "C:\Users\stk\Documents\blRstr_v101beta"
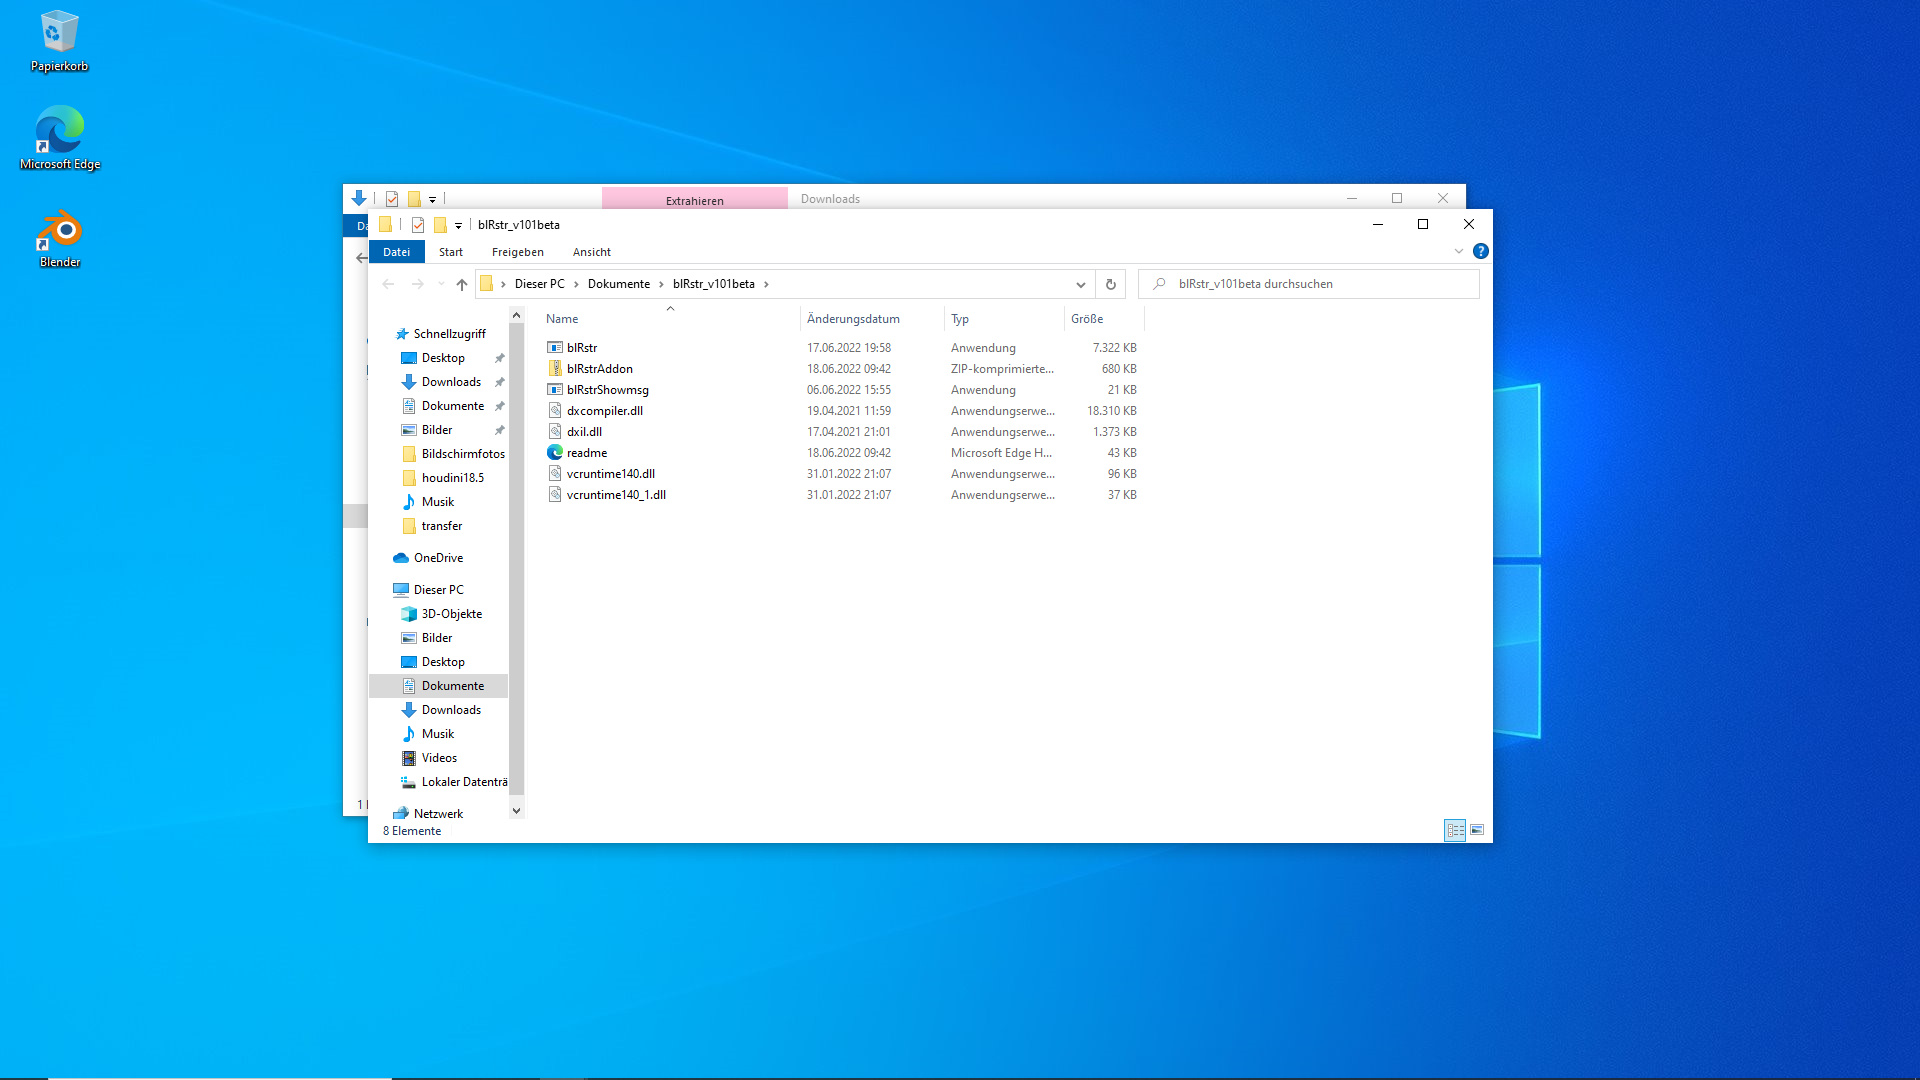
The content of the unzipped archive should look like this.
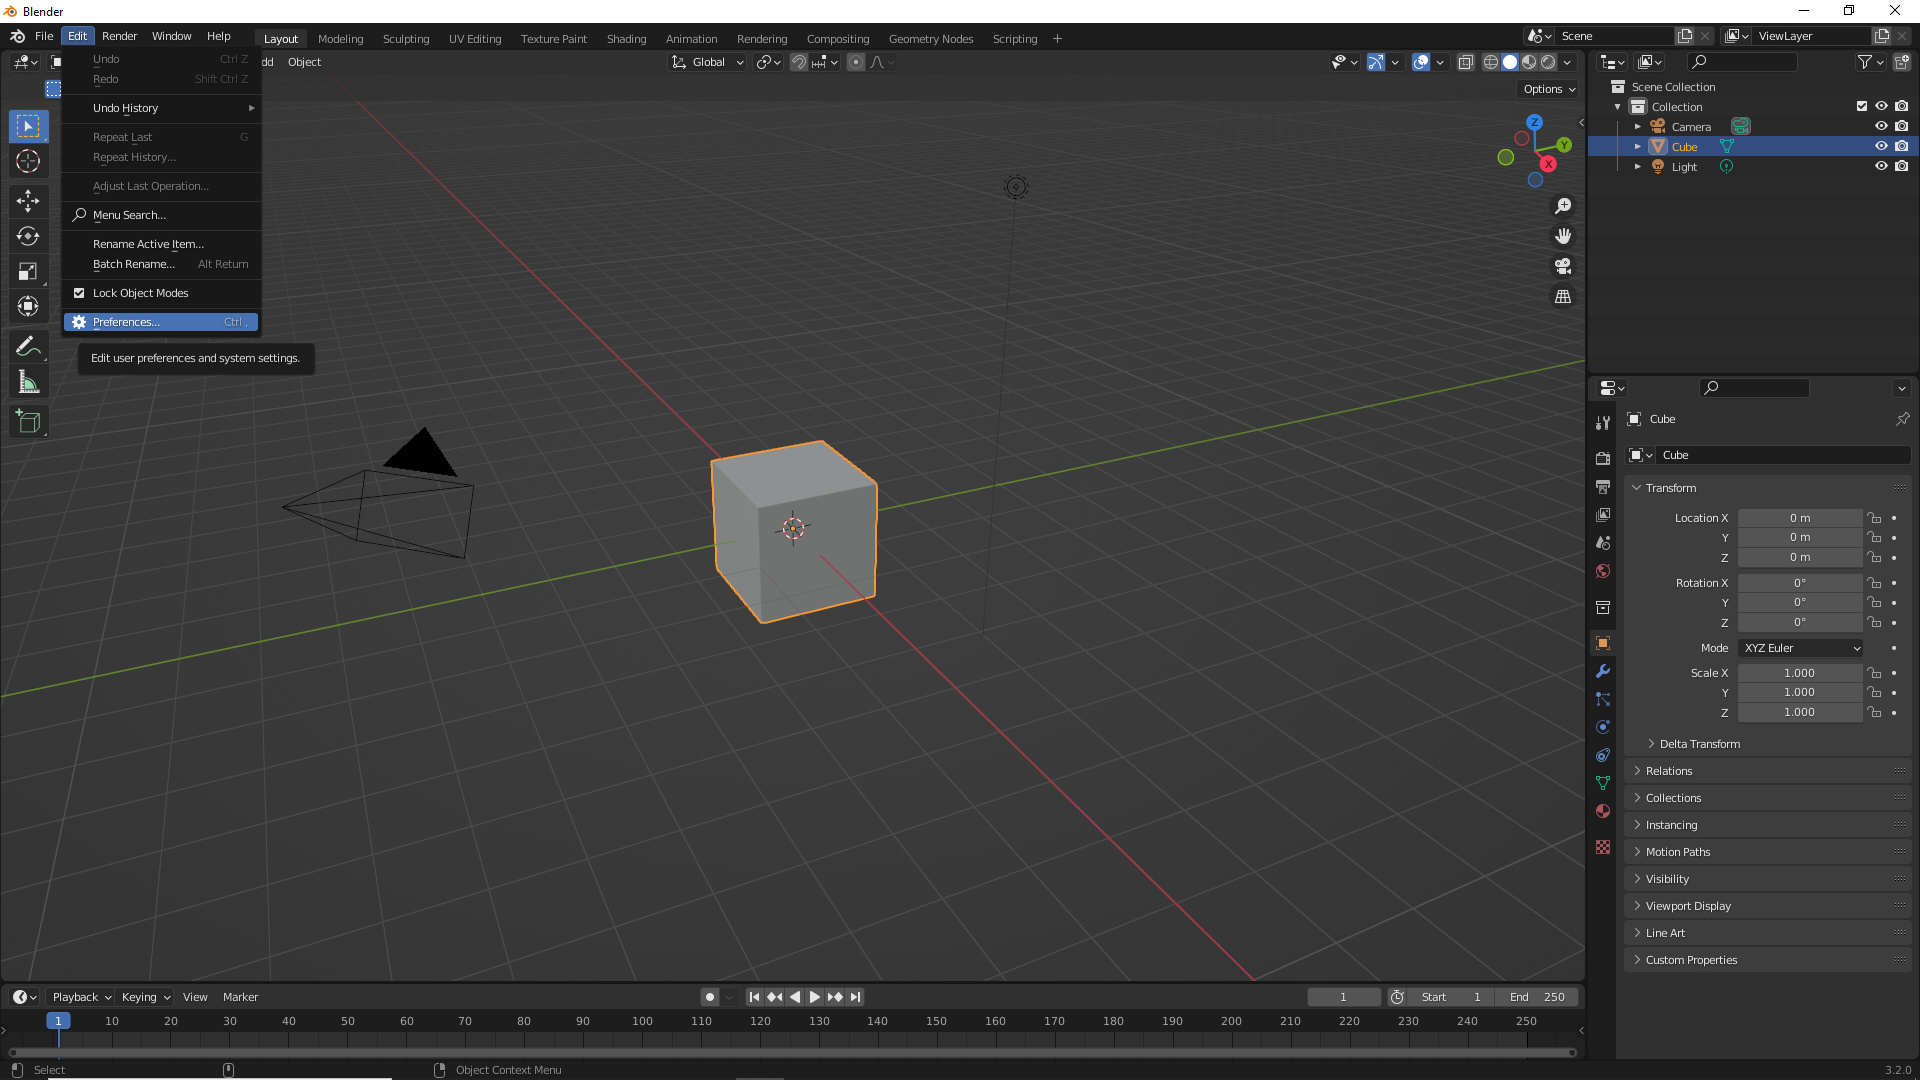
Open Blender's Preferences
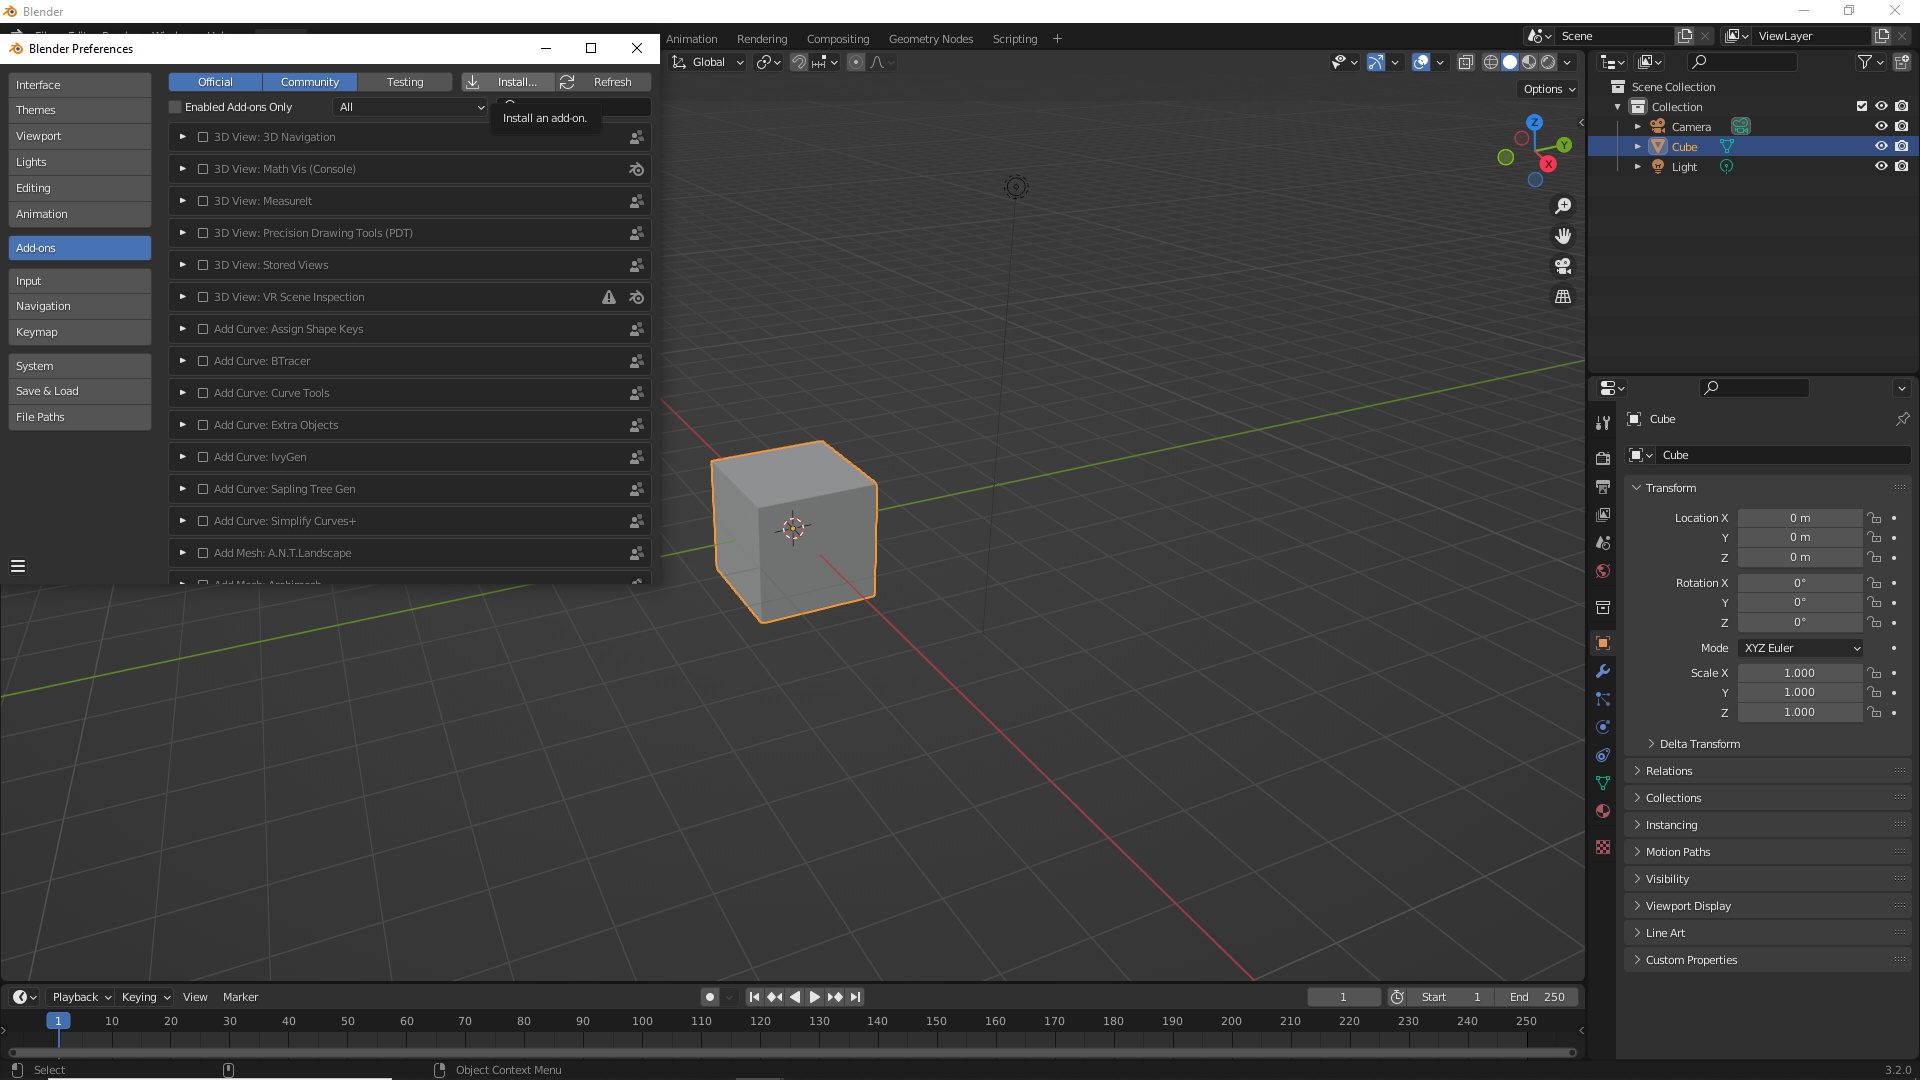
Select "Add-ons" and click "Install..."
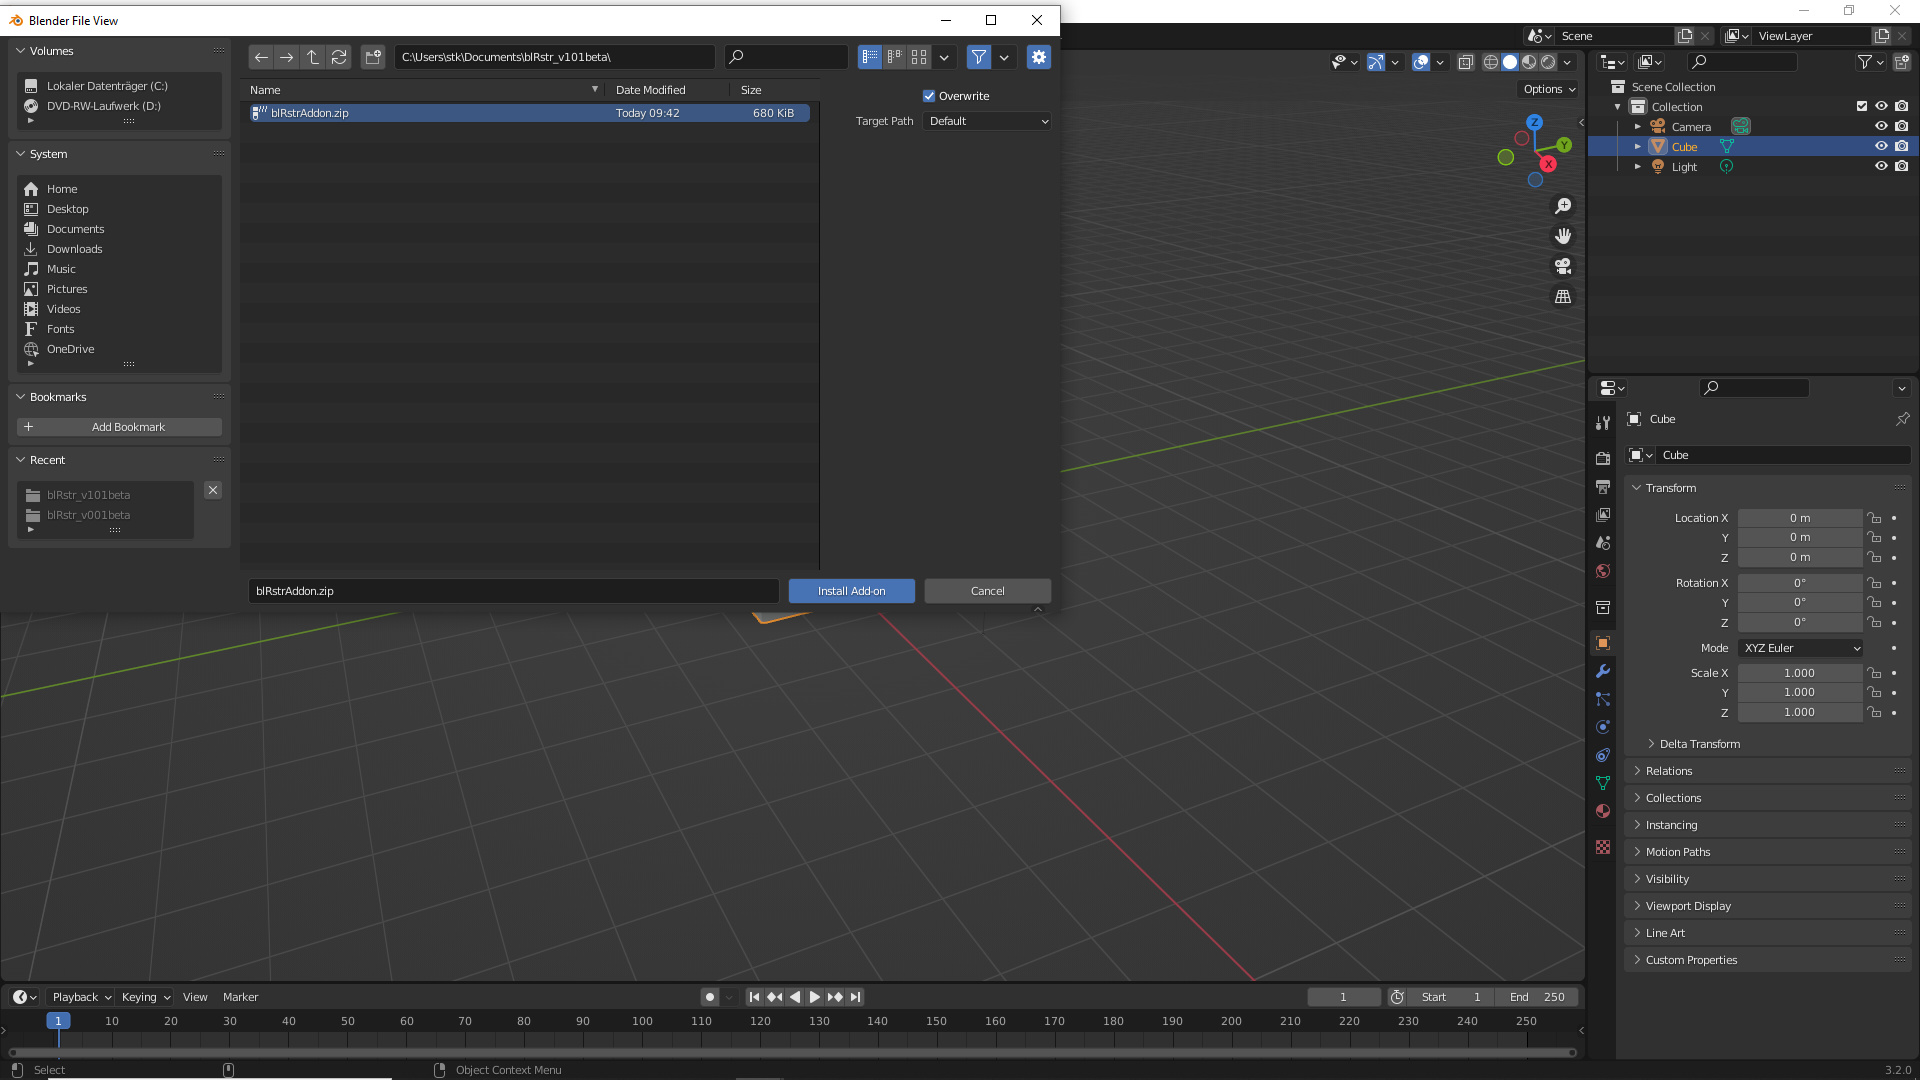
Select "blRstrAddon.zip" inside the unzipped archive. Here: "C:\Users\stk\Documents\blRstr_v101beta\blRstrAddon.zip"
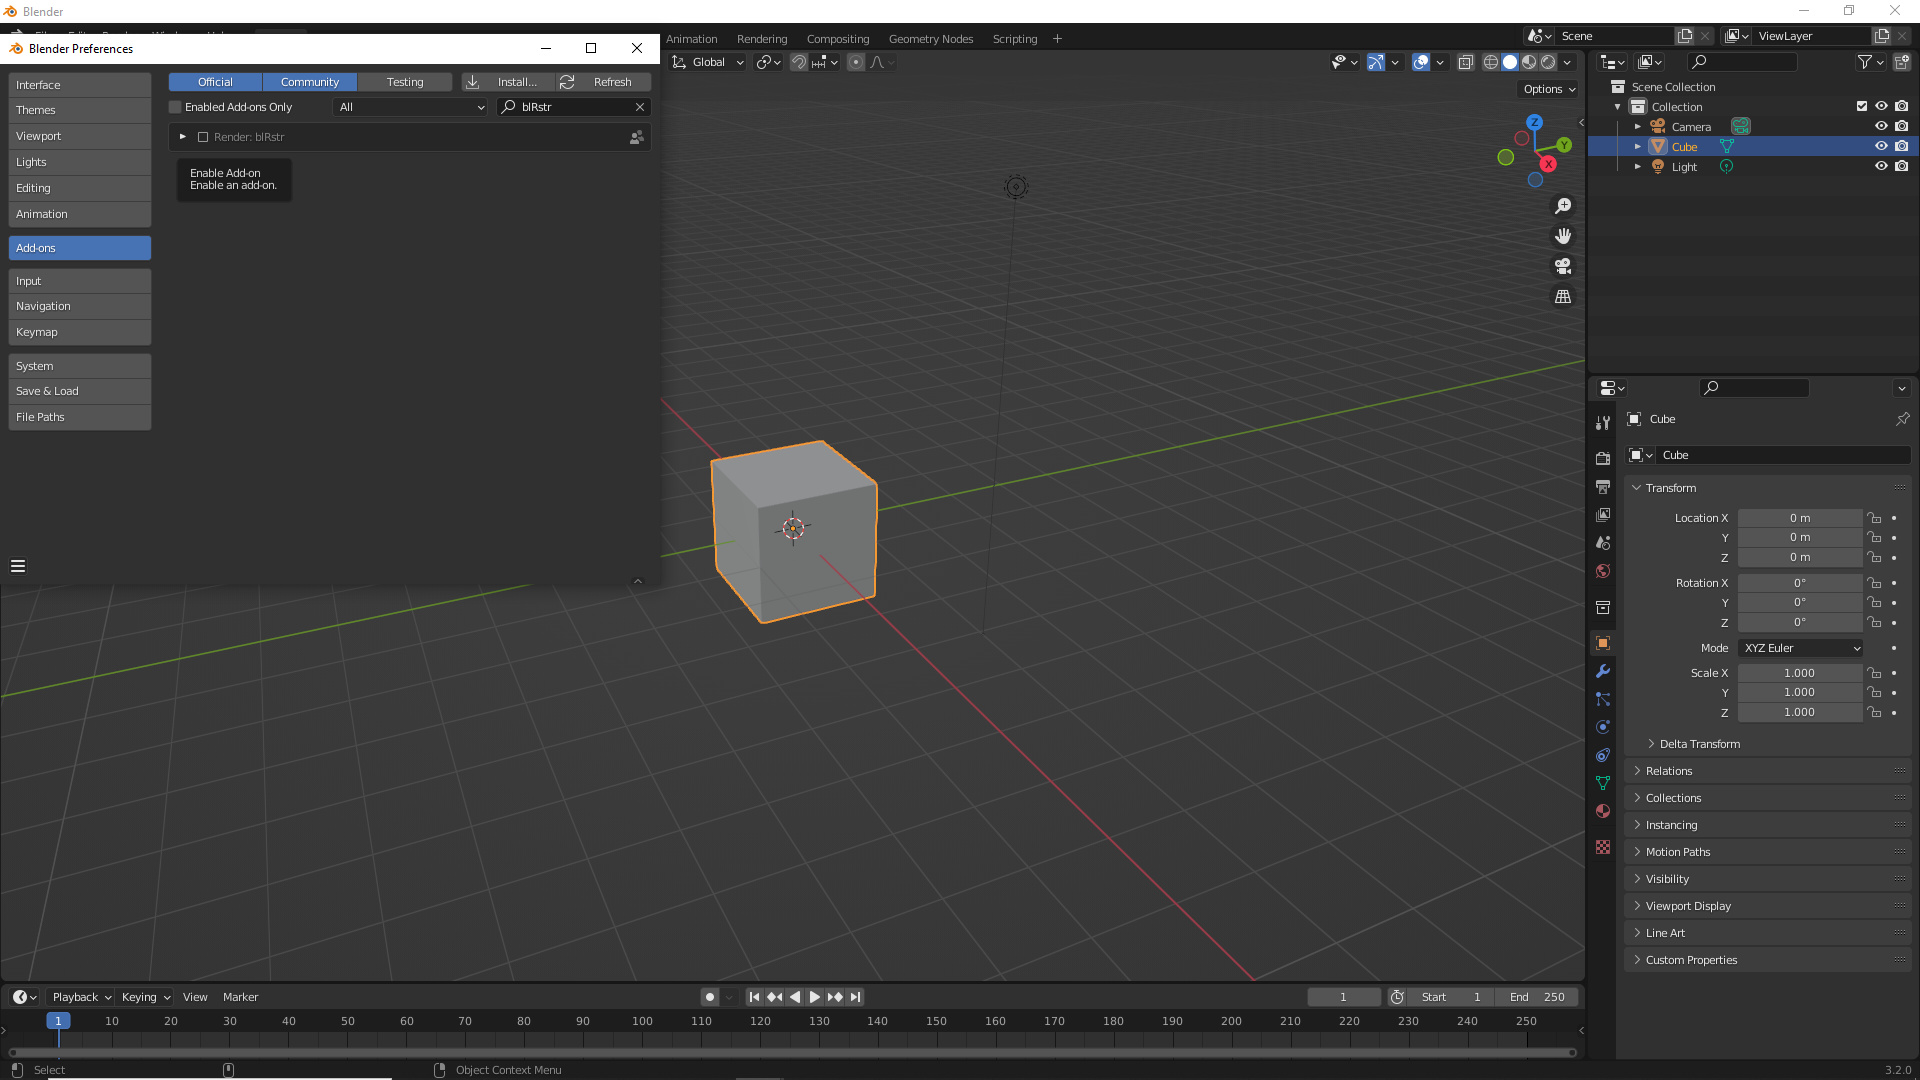
Enable the add-on
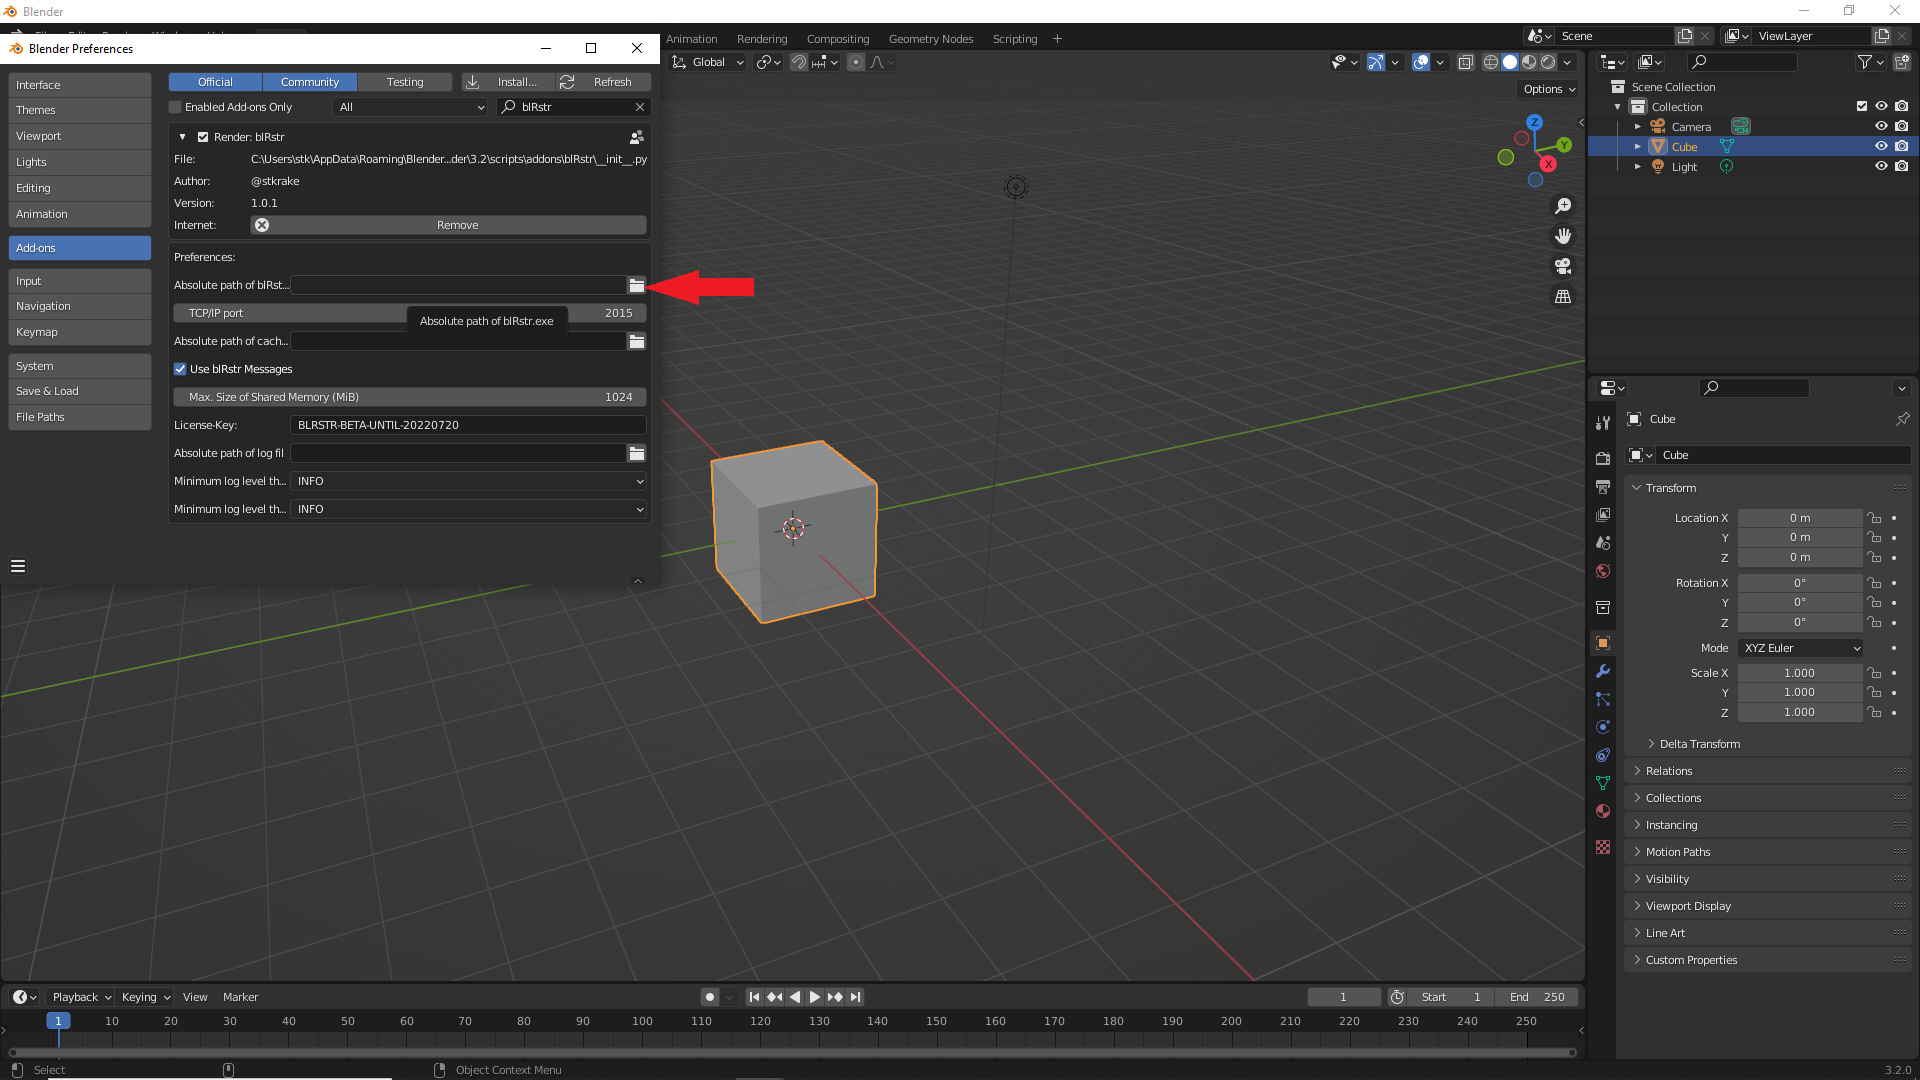
Open the add-on preferences and click the folder icon behind "Absolute path of blRstr.exe".

Go to the unzipped archive and select "blRstr.exe". Here: "C:\Users\stk\Documents\blRstr_v101beta\blRstr.exe"
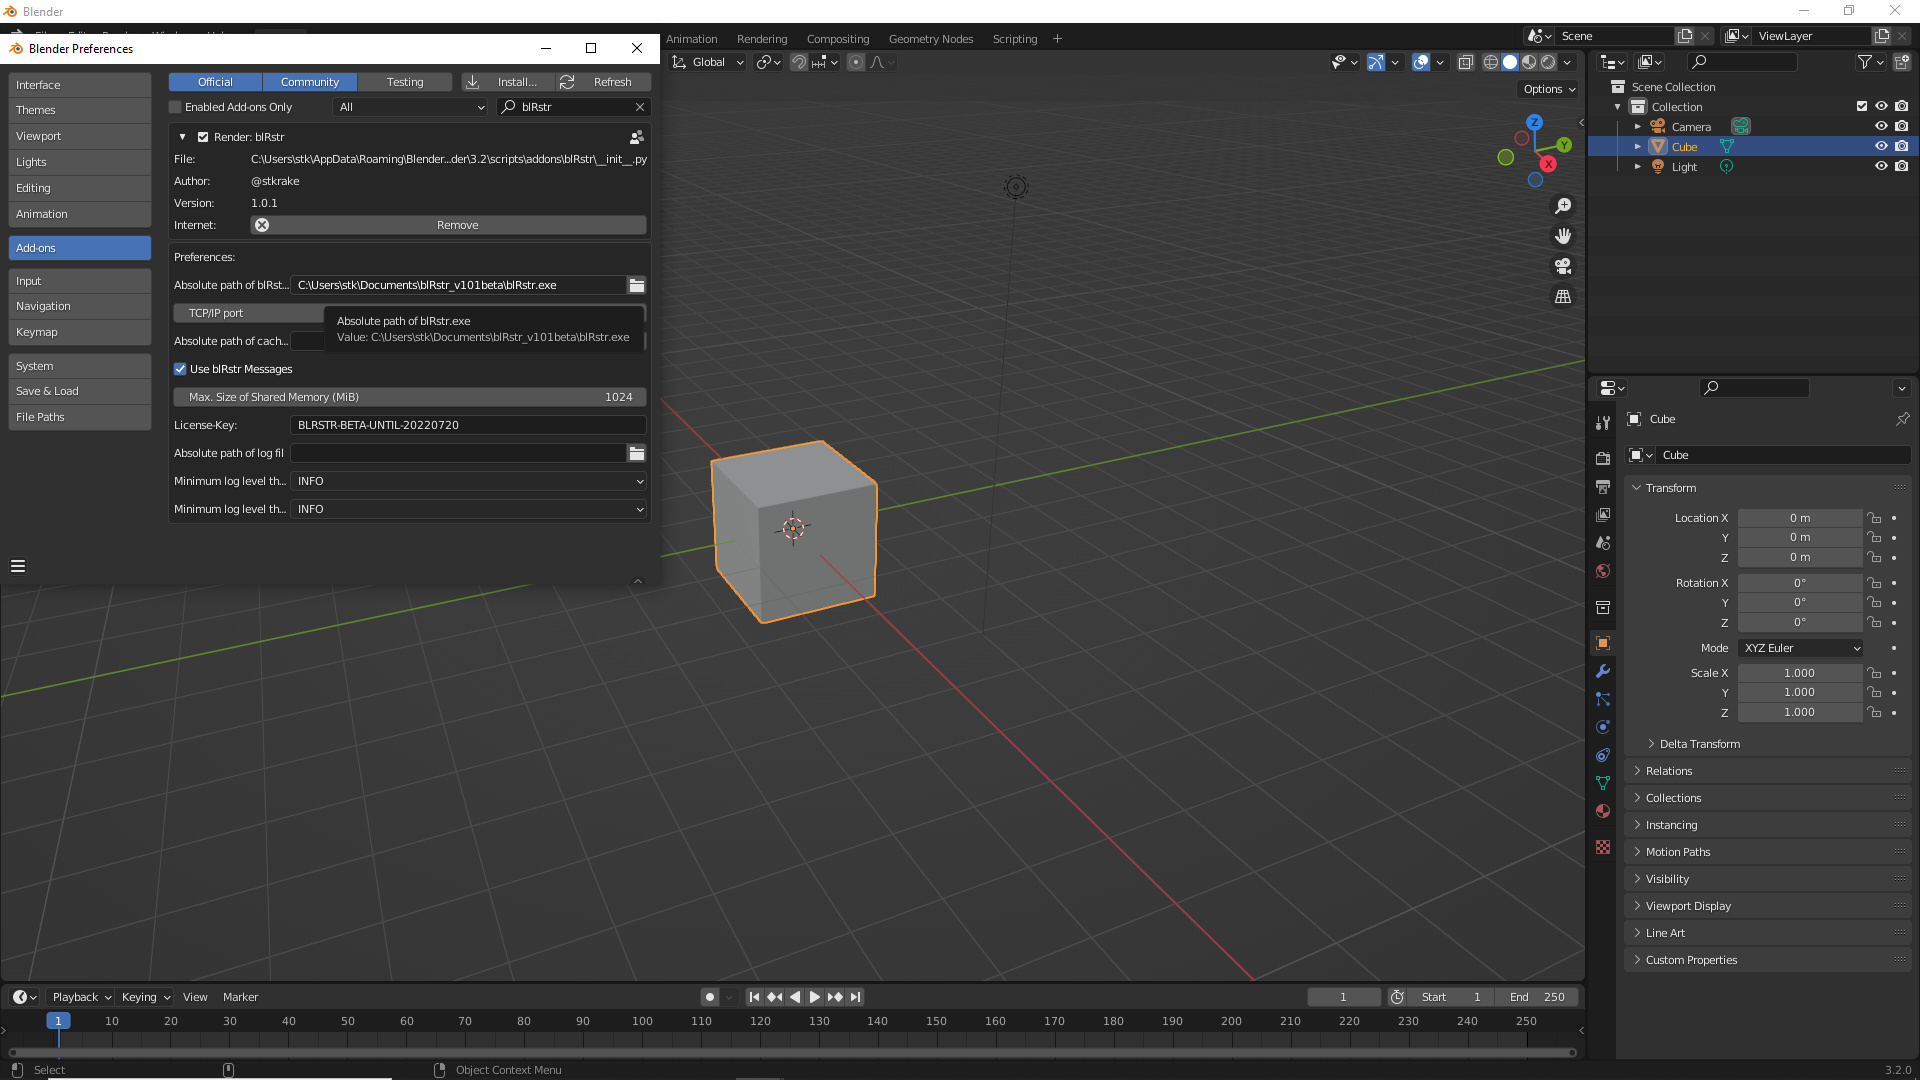
That's it. blRstr is now configured (in rare cases you may need to change the default "TCP/IP port" from 2015 to a free port).
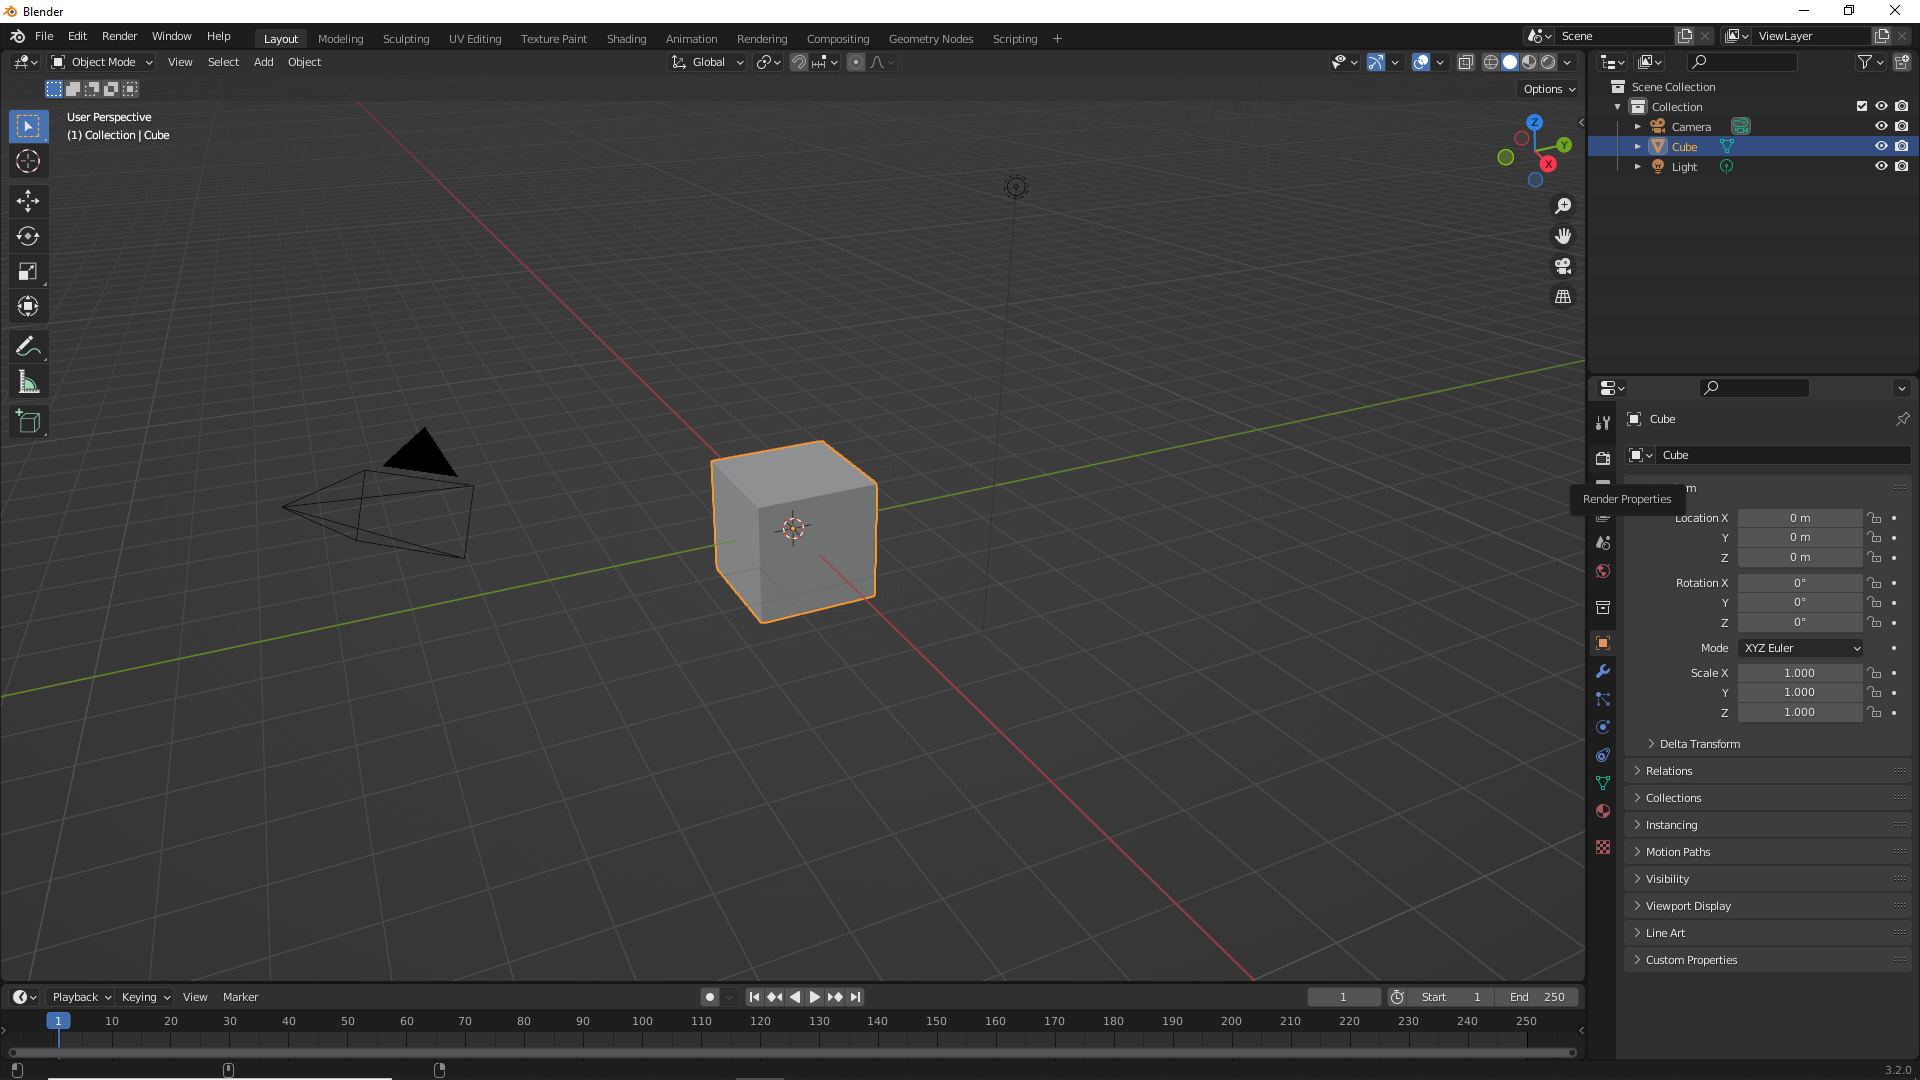
Open "Render Properties"
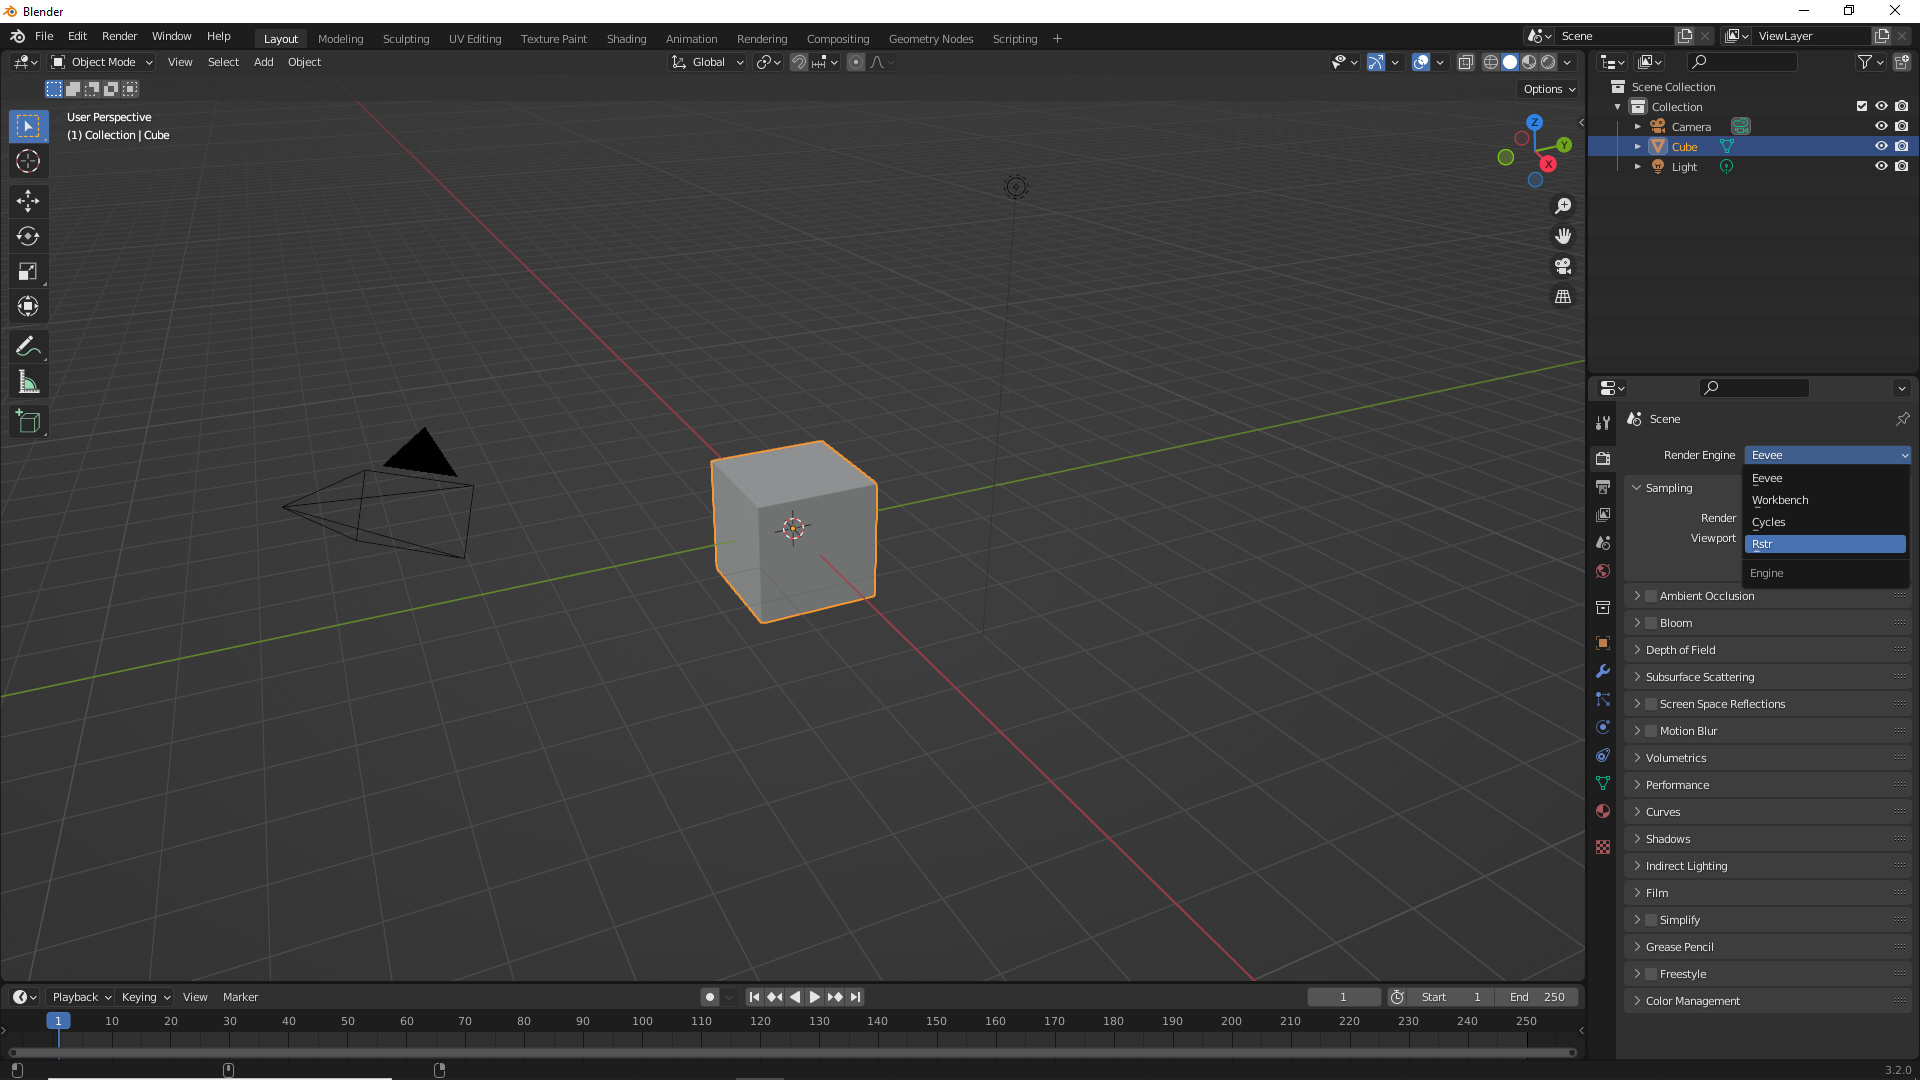
Select "Rstr" as "Render Engine"
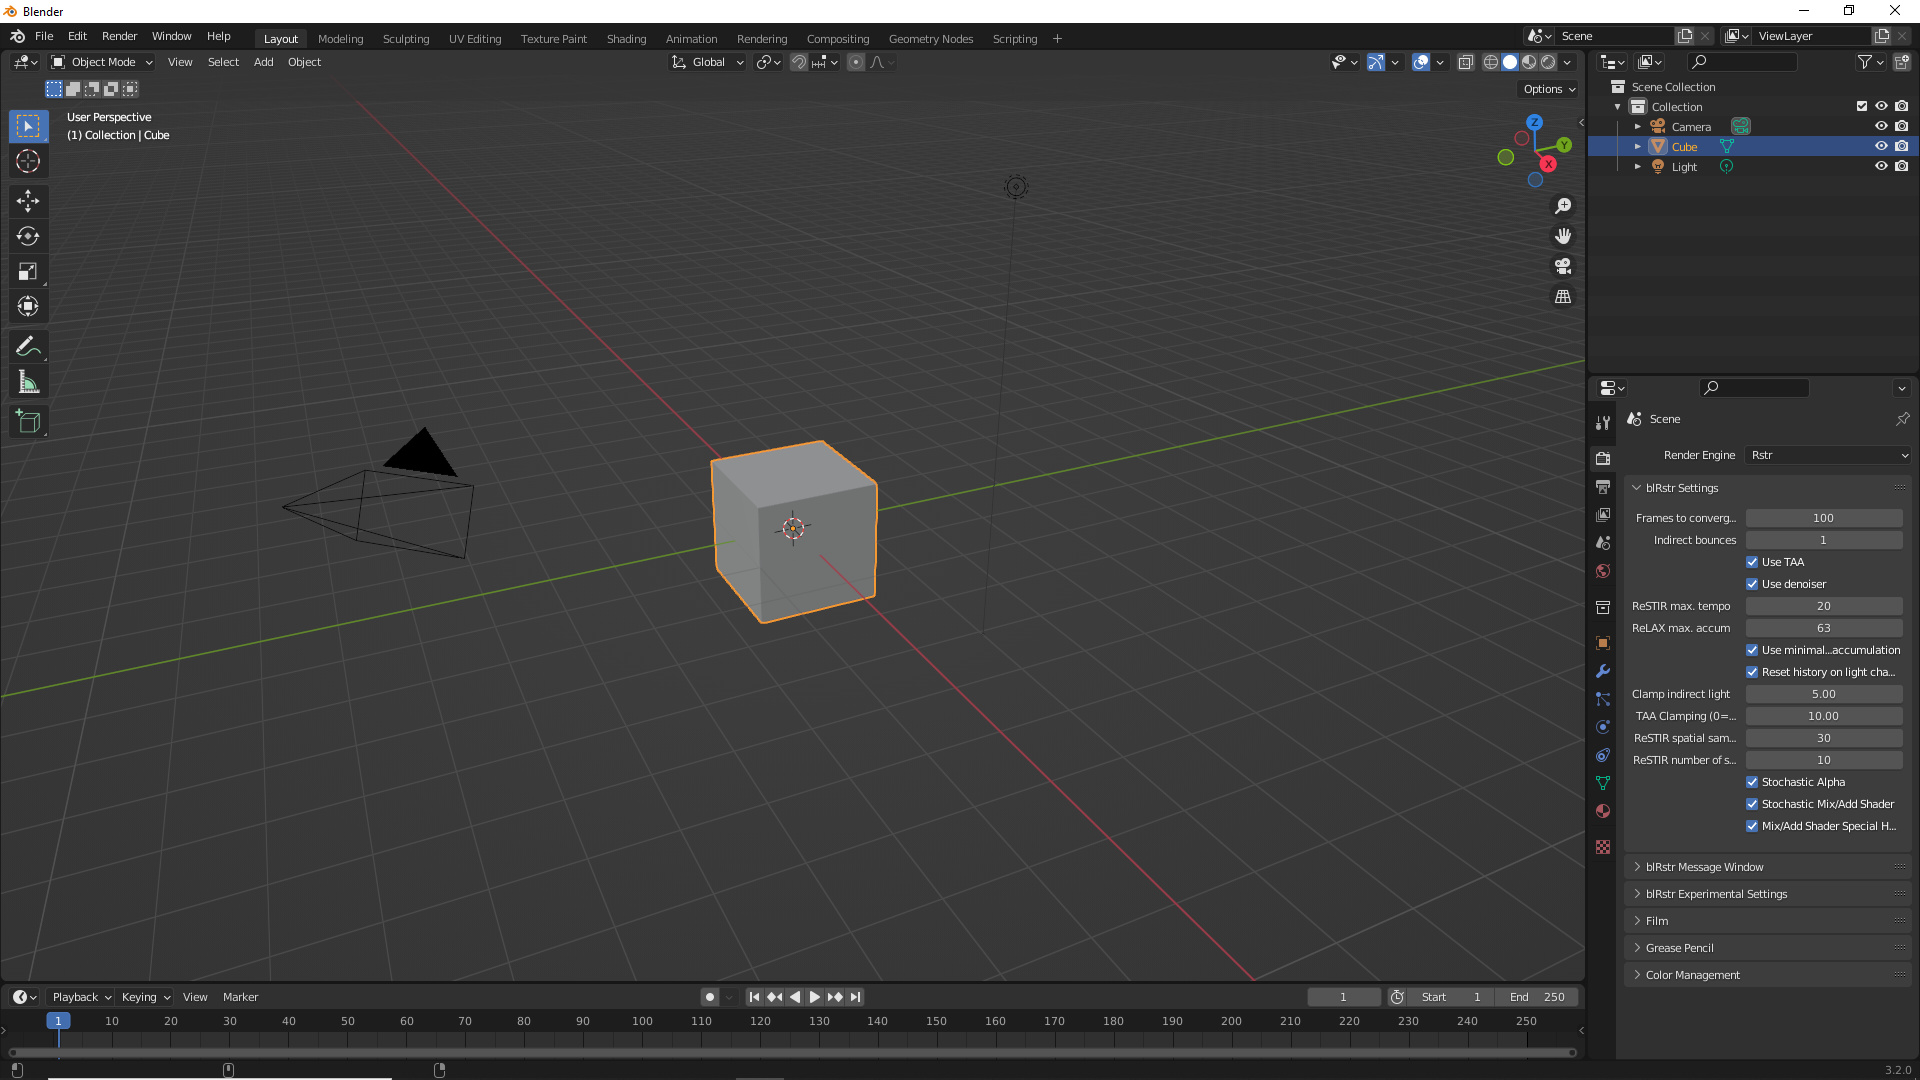
It should look like this
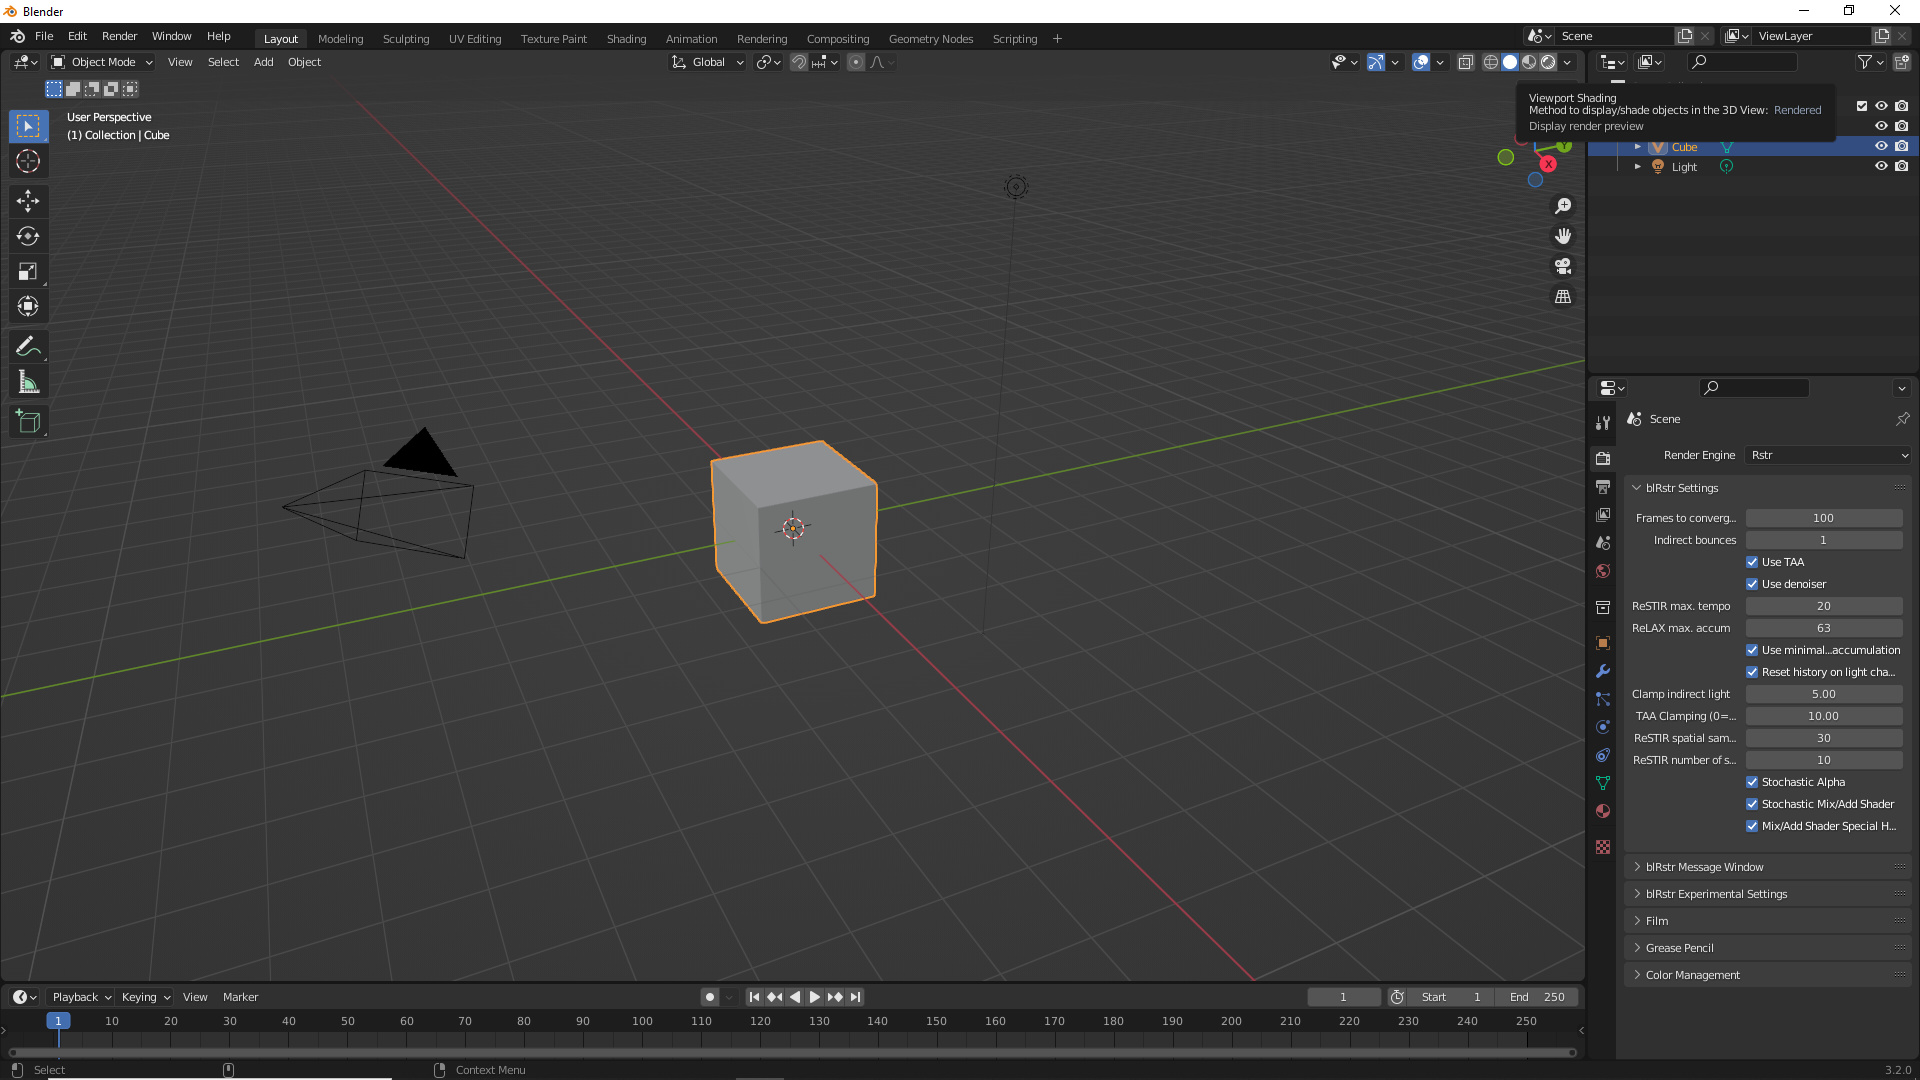
Switch "Viewport Shading" to "Rendered" (blRstr does not start before it is needed). It may take a short while until something happens.
And sometimes the virus scanner warns about the new executable...
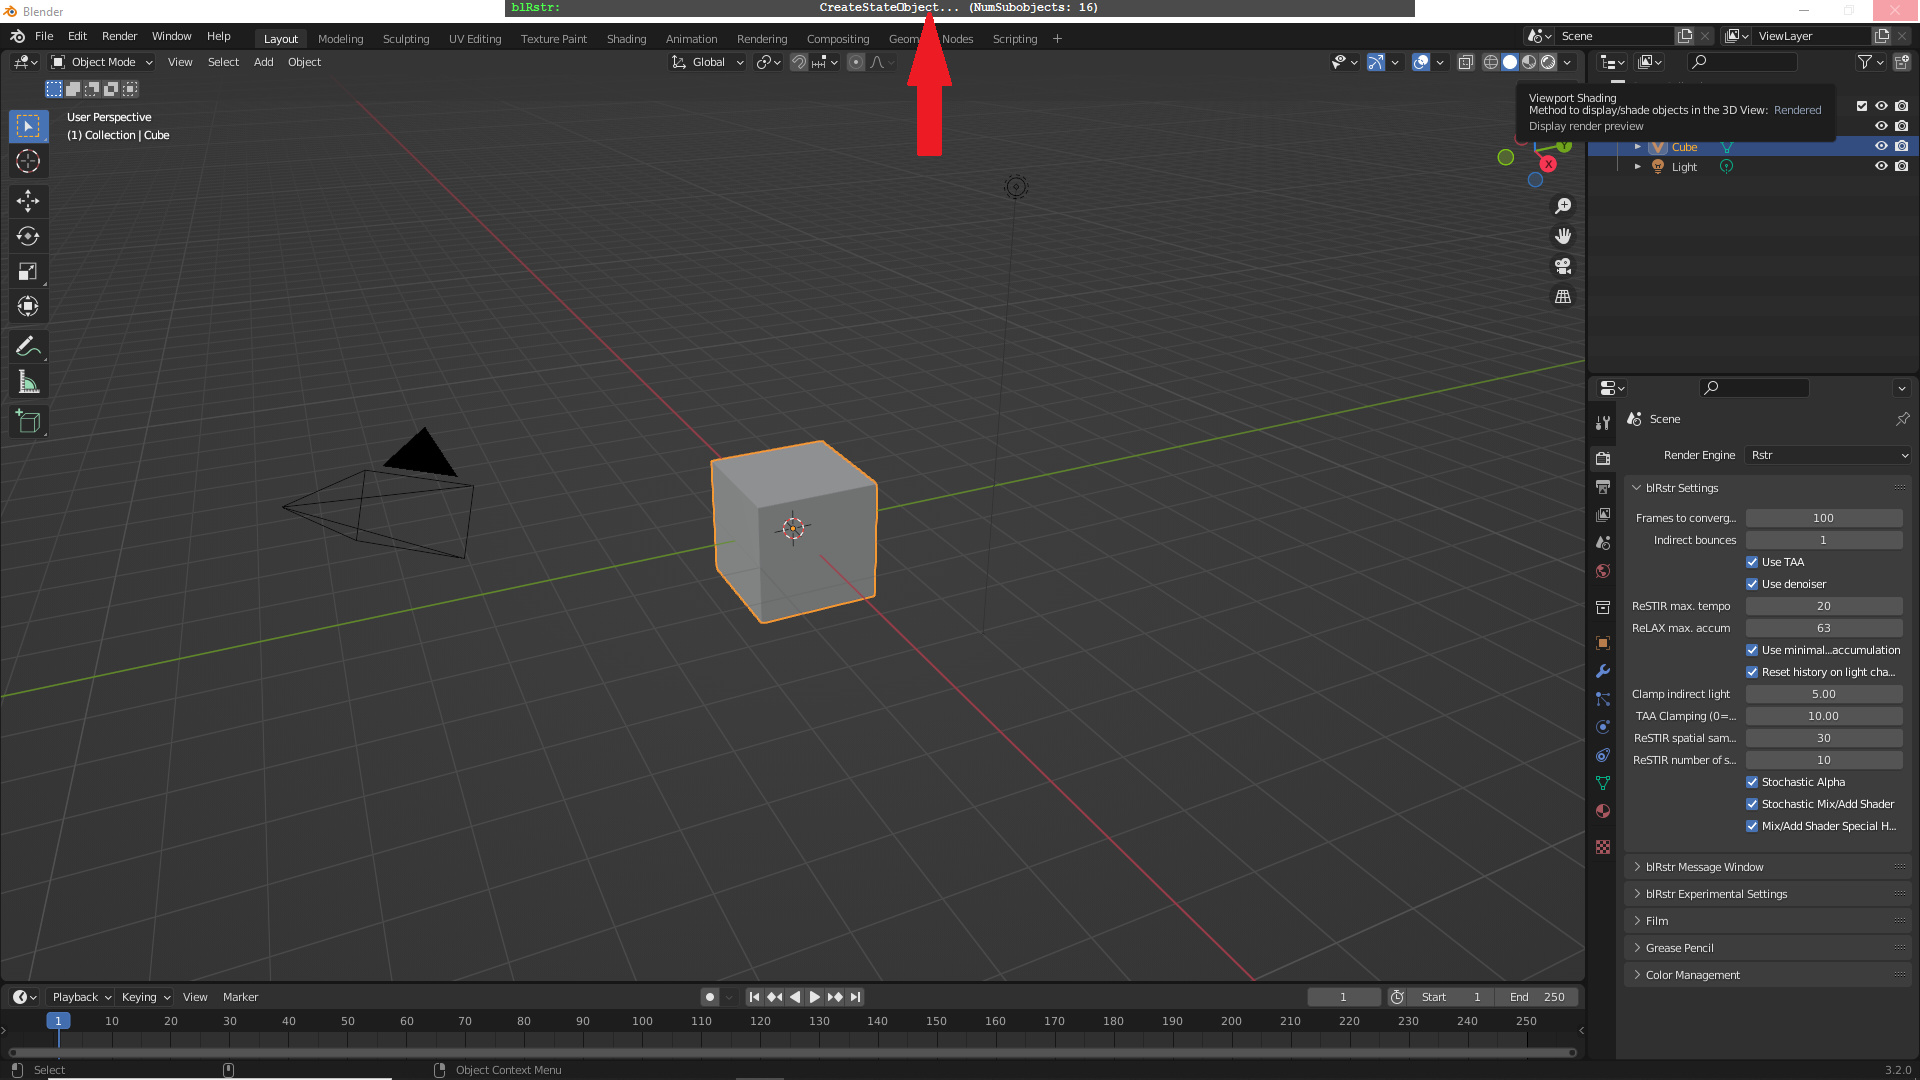
Above Blender's title bar the blRstr message window appears.
On the first start "CreateStateObject..." may take rather long. Please have patience. This seems to be the GPU driver optimizing and caching shaders.
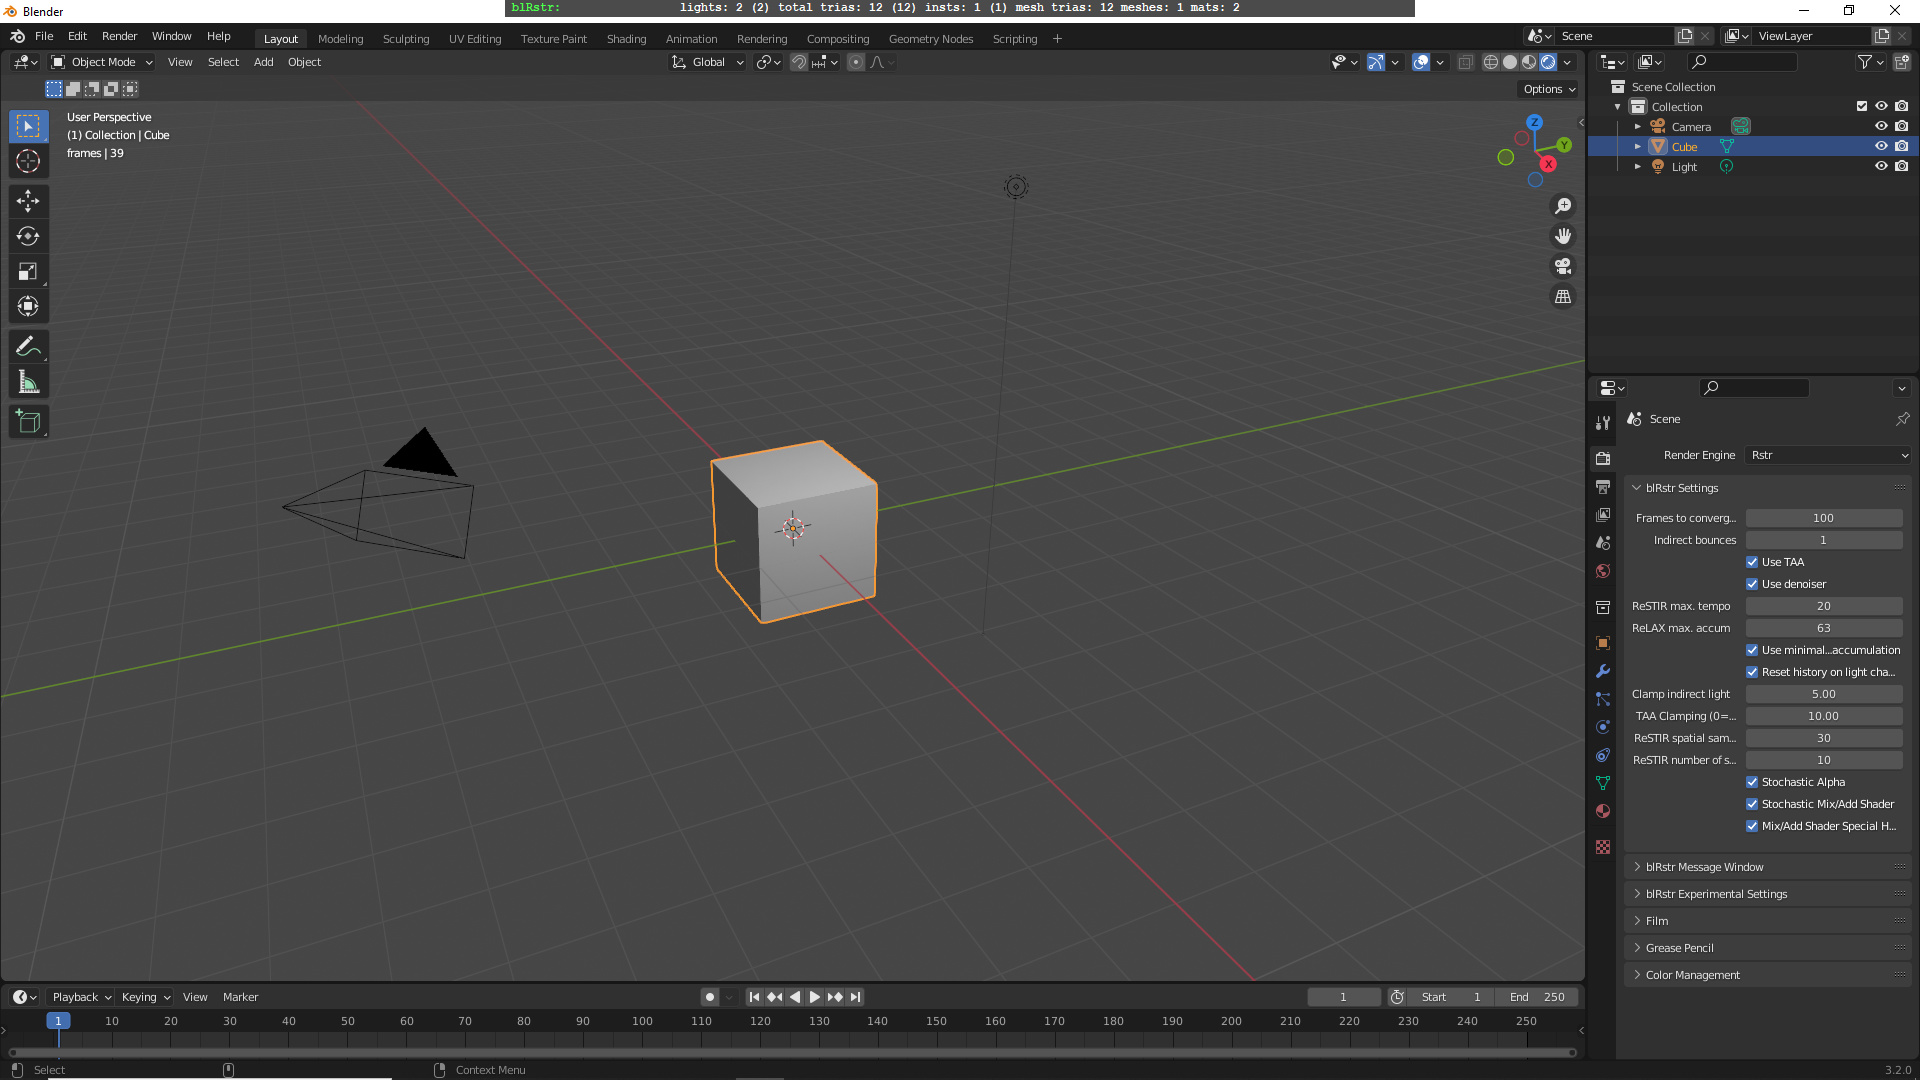
Success! blRstr is running! The blRstr message window tells us that Blender's default scene has 2 lights (the World Node counts as a light), 12 triangles in 1 mesh in 1 instance.
There are 2 materials because the World Node counts as material in blRstr.